"Therefore encourage one another and build each other up, just as in fact you are doing." 1 Thess. 5:11
This morning I received the sweetest note from someone letting me know that she has been encouraged and inspired by some of the things she has read on this blog. It came at the perfect time, as I have been wondering lately if it was really worthwhile to keep up this blog and if it was really making any difference. There are certainly fancier and better written blogs (I don't speak html) and sometimes it seems there is not much new, and yet everyone has there own voice and style that makes them unique. Just knowing that even one person has found something useful in these pages is enough to keep me writing and hoping that others are also finding something helpful.
Today, make it a point to let just one person know how much they have encouraged or inspired you. Your kind words may be just the thing they need to hear!
____________________________________________________________________________________________
Now for a new mix!
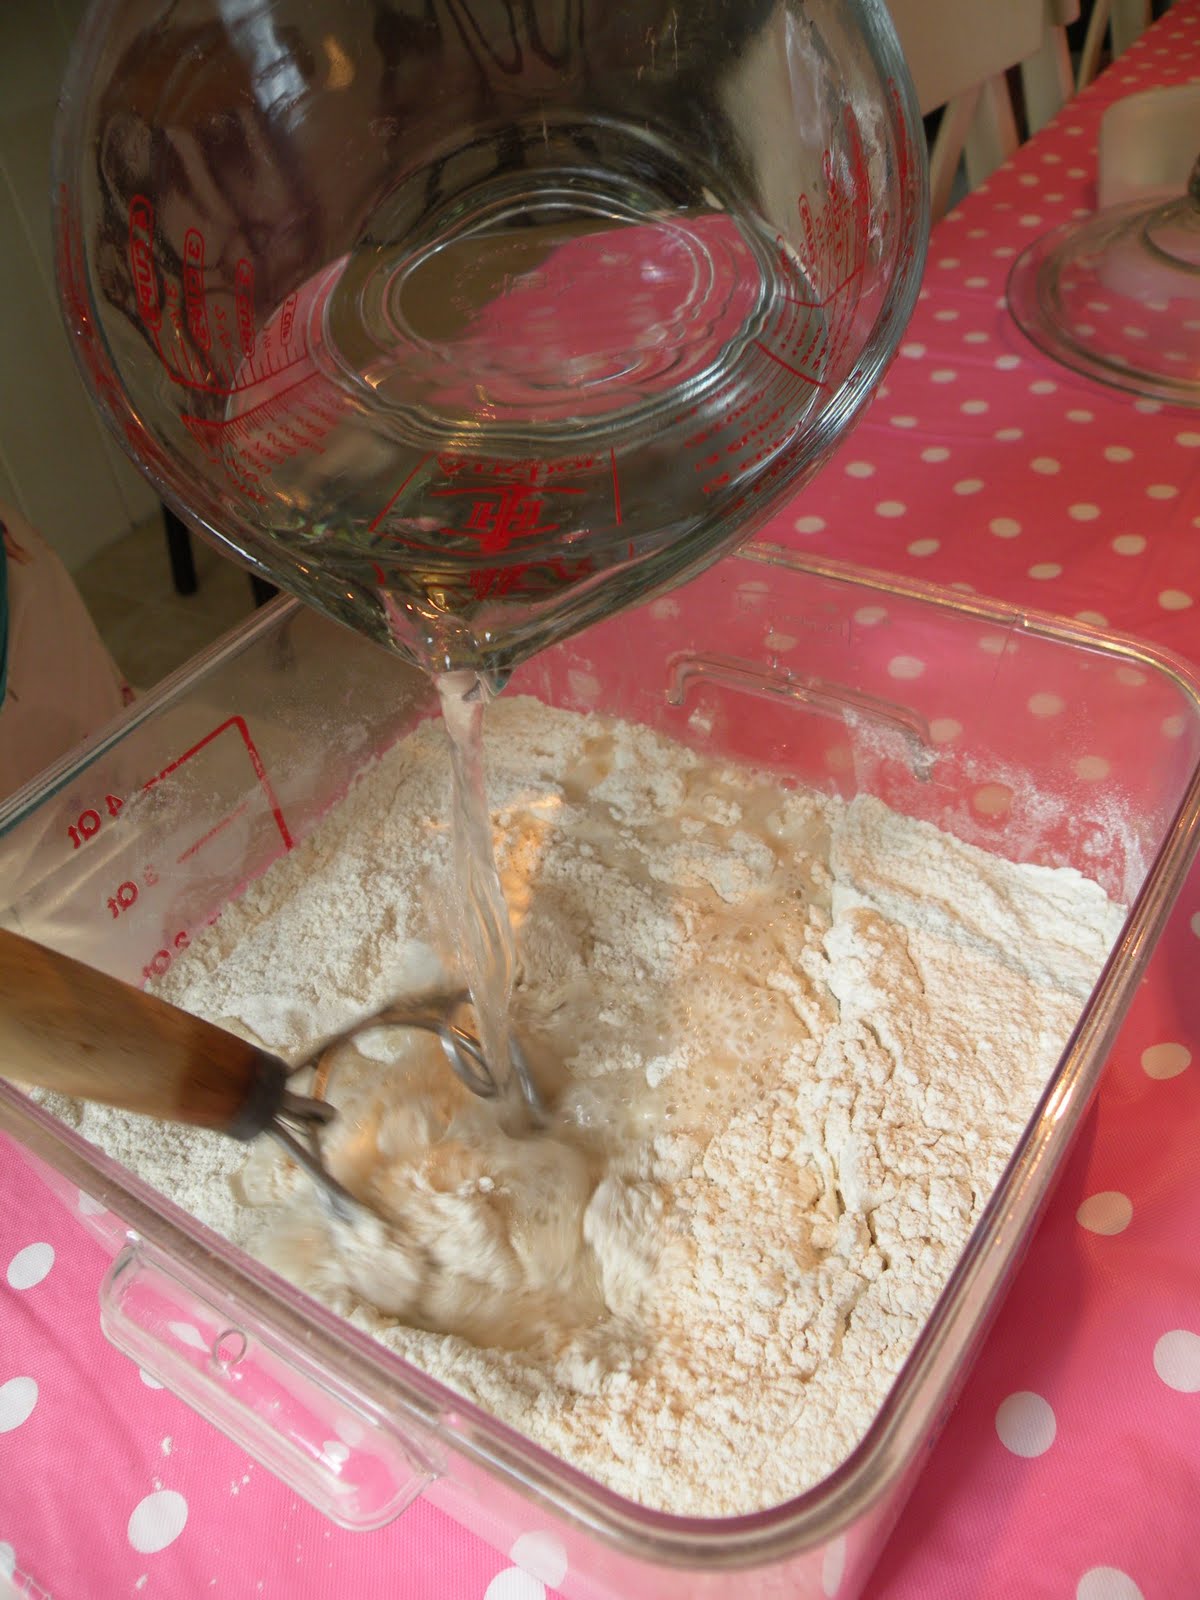
Perfect Pancake Mix
6 C. Unbleached flour
2 C. Whole wheat pastry flour
2 C. Nonfat dry milk powder (or buttermilk powder)
1/2 C. sugar
3 Tbsp. baking powder
1 1/2 Tbsp. baking soda
2 tsp. salt
In a large bowl, whisk all ingredients together. Store in large airtight container.
-You can use all unbleached flour or combination of flours to get to 8 C. (I found it is best not to go over about 1/2 whole wheat flour with this recipe).
Pancakes:
2 C. perfect pancake mix
1 1/2 C. water (or to desired consistency)
1 egg
2 Tbsp. oil
In a medium bowl, combine egg, oil and water. Whisk in pancake mix. Let stand 2 minutes. Add additional water, if desired. Cook on preheated griddle or pan.
~We love pancakes for lazy weekend morning breakfasts, or busy weeknight dinners!
Easy Waffles
2 1/2 C. Perfect Pancake Mix
2 C. water
3 eggs, separated
1/4 C. veg. oil
Combine pancake mix, water, egg yolks and oil in large bowl. In a separate bowl, beat egg whites until stiff. Gently fold egg whites into batter. Bake in preheated waffle iron.
Puff Oven Pancake
4 Tbsp. butter or margarine
4 eggs
1 C. milk
1 C. Perfect Pancake Mix
Preheat oven to 450 degrees. Place 2 Tbsp. butter in each of 2-9" pie plates. Place pie plates in oven to melt butter. In a blender, combine eggs, pancake mix and milk. Pour batter into prepared pie plates.
Bake for 18 minutes until puffy and browned. DO NOT open the oven while pancakes are cooking.
Remove from oven and top with fruit or powdered sugar.
~These are an easy brunch dish for a crowd.
Topping Ideas:
~Fried apples and pecans
~Fresh peaches, blueberries or strawberries with a sprinkle of powdered sugar
~Sprinkle with powdered sugar and lemon zest and then sprinkle the juice of a lemon over it (my fav!)
~Bananas, coconut, pineapple and drizzled with chocolate sauce.
~Any fresh fruit and fresh whipped cream
Perfect Batter
1 C. Perfect Pancake Mix
1 C. milk
2 eggs
Combine eggs and milk in shallow bowl, Add pancake mix and stir till combined.
Use this batter to make Monte Cristo Sandwiches, onion rings, or even fried fish.
~For Monte Cristo Sandwiches, make sandwiches using your favorite bread, meat and cheese combo (ham and cheddar, turkey and swiss, roast beef and provolone) and topping (mayo, mustard). Dip sandwiches and cook on preheated griddle till browned on both sides and cheese starts to melt. Monte Cristos are traditionally topped with a light sprinkle of powdered sugar and a dollop of jelly.